
Table of Contents
Classification of Ores
In fluxing ore for gold and silver, first determine the nature of the sample submitted for assay. Three different classifications may be made in the preliminary examination of ores; first, pure quartz (very glassy or vitreous); second, no quartz (plastic and free from grit); third, a mixture of these two extremes which may be assumed to be the average as to siliciousness. Approximately knowing the nature of the sample as to these proportions, add such fluxes as will modify either extreme to an average mixture. For example, in pure quartz omit the silica or glass that the flux would otherwise contain as the ore has already a sufficiency. If the ore is free of silica, mix in more silica or glass than otherwise would be added to an average ore.
This preliminary examination is all-important, as by its aid the proper additions are made whereby the gangue or waste is suspended in the form of slag, allowing the lead to alloy with and gather all the gold and silver contained in the sample. Ores containing a large excess of silica require the addition of some deoxidizing or basic flux, or of some material of a basic and reducing nature to counteract the too oxidizing effect of the acid silica flux already in the ore; more litharge and argol or flour will remedy such a case. Experience only will enable the operator to estimate the proper amount of basic and reducing flux necessary to bring down a proper sized lead button without running what is called a preliminary assay to determine the amount of the reducing agent already in the ore.
Experience shows that more satisfactory results are obtained by bringing down a larger lead button than some writers consider necessary. Ordinarily a 20 grain lead button is about right, but with ores containing metals that volatilize at low temperatures a larger lead button should be obtained. This applies to telluride ores, and also to zinc and antimony ores. In such ores the size of the button may be increased by adding more litharge and reducing agent to the flux mixed with the ore.
Sulphide Ores
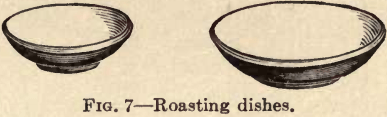
Ores containing much sulphur or sulphurets should be roasted preliminary to fluxing for crucible assay. This is done in the muffle after a known quantity, say one or two assay tons (page 65 for definition of assay ton), is carefully weighed and put in a roasting dish (Fig. 7). The ore should be stirred with a stiff wire or light iron rod frequently during the roasting operation to prevent the ore from caking, and to give the sulphur in the ore a chance to
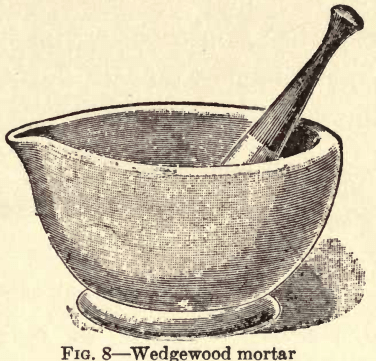
burn out. This operation takes but a few minutes, and as soon as the ore is cool it may be scraped out of the dish, ground lightly in a wedgewood mortar (Fig. 8) to break up any crust formed in roasting, and
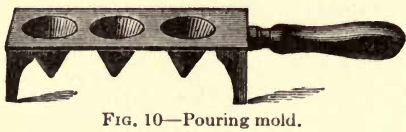
fluxed in the same manner as any other ore. Roasting is not necessary unless the sample contains a large quantity of sulphurets. Ores containing but a small amount of sulphurets may be desulphurized during the molting by putting several large iron wire nails in the crucible (Fig. 9) with the charge. The nails may be left in the crucible until the charge is molten, and then carefully removed before pouring the melt into
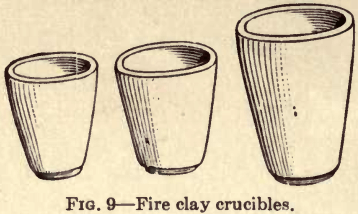
the pouring mold (Fig. 10). The excess of sulphur unites with the iron, forming a matte (sulphide of iron). Let the slag be very fluid and the lead will all run out of the crucible when poured into a mold. Ores containing no sulphurets need no nails during the melting nor any preliminary treatment.
Fluxing
If ores are of reasonably good value, say from $10.00 gold value per ton upward, use charge of 1 assay ton, and if of a lower grade take a charge of 2 assay tons, using a larger crucible. This is so that in the case of a low grade ore more gold may be obtained to weigh Thoroughly mix the pulp sample, and weigh on the pulp balance (Fig. 11) 1 or 2 assay tons, as judgment may dictate. Place the flux (see page 68 on the subject of fluxes) in the crucible (Fig. 9), carefully transfer the pulp to the crucible and thoroughly mix the flux with the sample, using a 5 or 6″
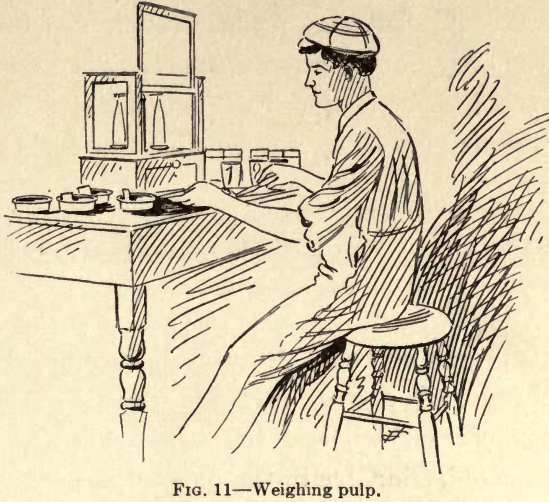
spatula (Fig. 11a) for mixing. This mixing is important as it exposes all the minute particles of the fluxes.
The crucible commercially known as Battersea “B” or 20 gram size will be found convenient for use when 1 assay ton of ore is taken; size “F” or 30 gram when 2 assay tons are used. Select crucibles of such sizes as will contain 1 or 2 assay tons, as the case may be, together with the necessary amount of flux.
Melting Furnaces
The next operation is melting in the furnace the charge placed in the crucible. There are many kinds of furnaces using various materials for heating, such as coal, coke, gas, and gasoline. Those now most frequently used are gasoline furnaces.
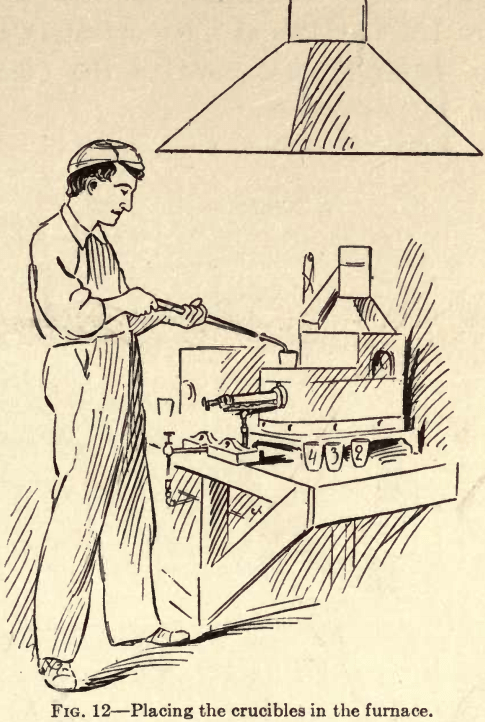
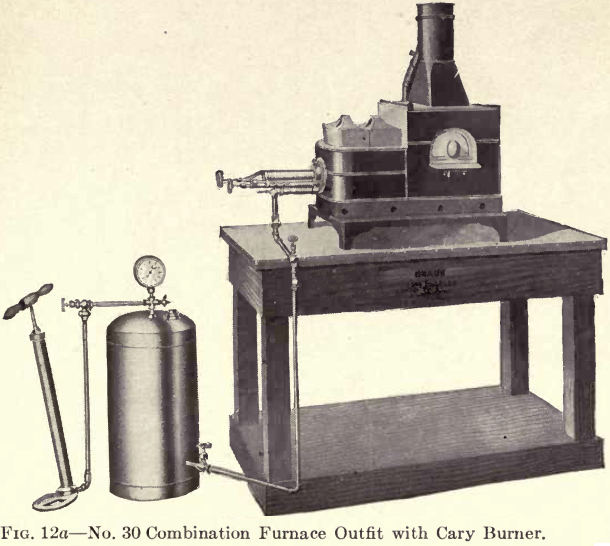
Fig. 12 represents one of the latest gasoline furnaces called the Cary Combination Furnace. The main feature of this furnace is that both operations of melting and cupelling may be carried on simultaneously at the

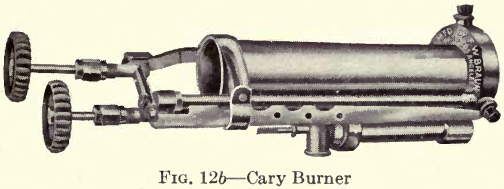
required degree of heat. By use of the Cary Burner shown in Fig. 12b a great saving is effected in the consumption of gasoline, and the loud pulsating noise, which was objectionable in the older styles of gasoline burners, has been overcome to a very great extent. Perfect combustion is obtained in this furnace at a minimum cost. By working with gasoline under an air pressure of 25 to 30 pounds as shown on the gauge, a charge may be properly reduced in a gasoline furnace in from fifteen to twenty-five minutes.
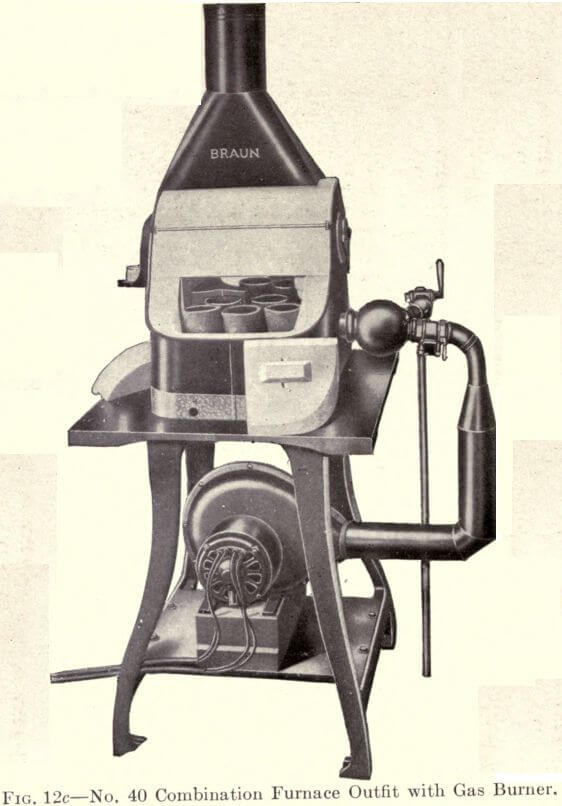
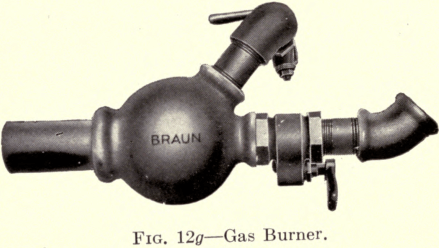
The new type of Combination Furnace, which is known as the Braun Rotary Flame Combination Furnace, is shown in Figure 12c. The muffle is placed directly over the melting chamber, thereby allowing a large crucible capacity. The flame enters the centre,
strikes a special dividing brick and is whirled around the crucibles. Varied temperatures are obtained, allowing of the proper annealling of all crucibles. The Braun Gas Burner is shown, which consumes ordinary illuminating gas. A Combination Motor and Blower shown in the same illustration is necessary to operate this Burner. This can be attached to the regular lighting circuit.
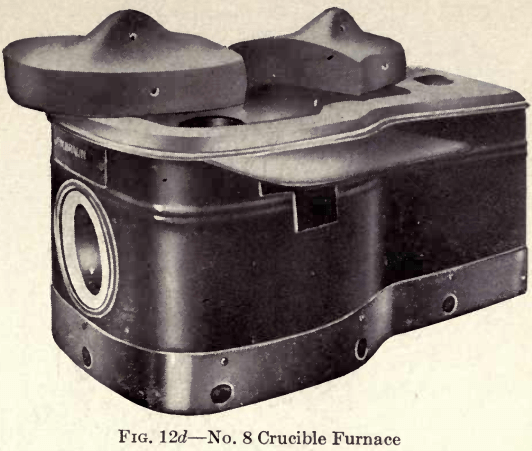
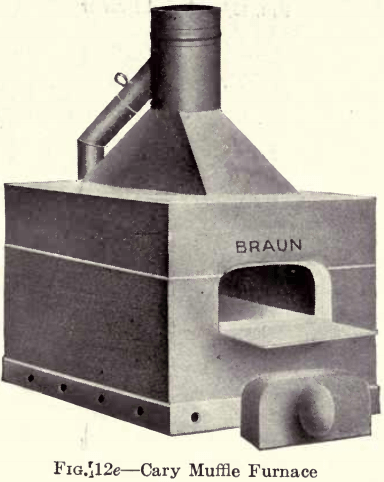
Special Crucible and Muffle Furnaces are shown in Figures 12d and 12e, as some operators choose to use these types in preference to the Combination Furnaces.
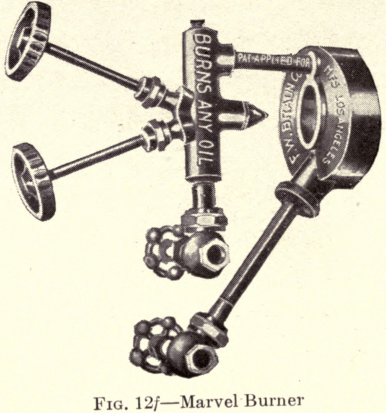
Marvel Burner, Figure 12f, can be operated with either crude oil or distillate, and is used by assayers who are unable to obtain gasoline for fuel.
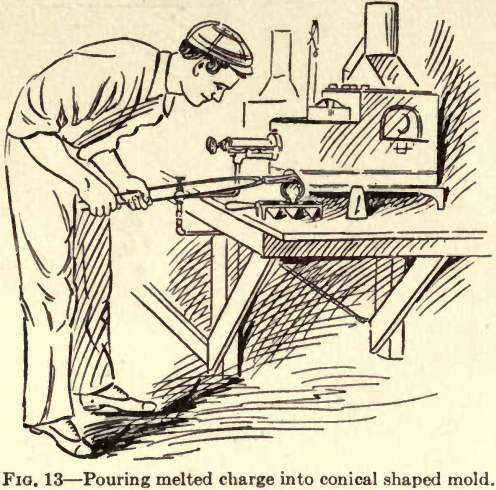
Some ores reduce more readily than others, and the melting time consequently varies and must be left to the judgment of the operator. When the charge is properly smelted all bubbling or boiling will
have subsided, and the contents of the crucible will be perfectly liquid and still. Pour quickly into a previously warmed conical mold (Fig. 13) called a “pouring mold ” and allow to cool. All the lead will be found to have settled, and this lead which is called the “button” will contain all the precious metals in the sample, leaving all the base metals and silica in the form of
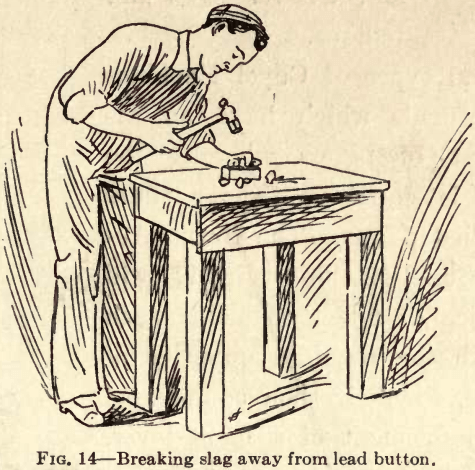
slag at the top of the mold. Hammer the button free from slag and then into a square shape (Fig. 14).
Cupels and Cupellation
Cupels (Fig. 15), are non-combustible dishes made of compressed bone ash. By the old method they were 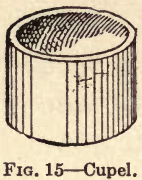 made with a hand mold (Fig. 16) consisting of a die and plunger to form the cupel. The die is filled with moist bone ash and the plunger struck with a mallet or hammer compressing the bone ash to form the cupel. It is very essential that the
 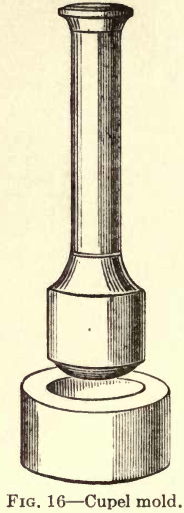 cupel be solidly made (although not too hard) and of uniform density, otherwise it will split when heated and values be lost during cupellation. When using the hand mold this is a difficult matter, and it is very slow and tedious.
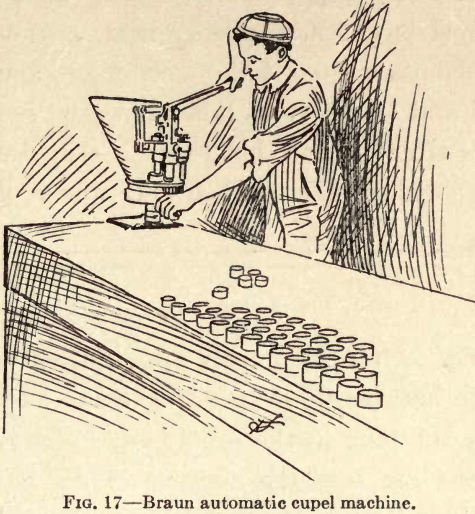
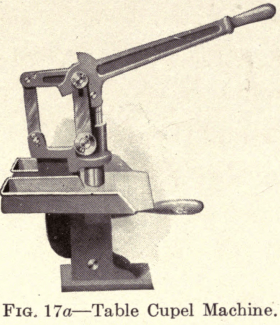
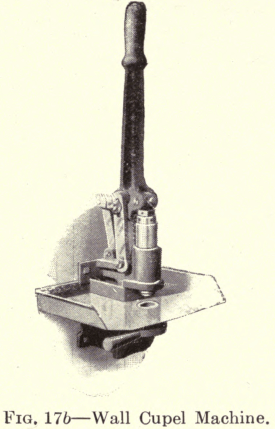
Several types of Cupel Machines are now made which have an arrangement of levers whereby the pressure is equal to twenty times the applied power. The Braun Automatic Cupel Machine (Fig. 17) will automatically fill the mold each time with the required quantity of bone ash, which is then compressed by one movement of a hand lever, thus insuring a perfect cupel of uniform density. This machine has a capacity of 600 perfect cupels an hour, and a boy can operate it. This type has interchangeable discs and dies for making five different sizes of cupels. The table pattern (Fig. 17a) requires the mold to be filled by hand. It has interchangeable dies and plungers for making three sizes of cupels. The wall pattern (Fig. 17b) requires a separate machine for each size cupel. It is necessary to feed it by hand. A suitable shelf is furnished on which the bone ash is placed.
A stock of cupels should always be kept on hand as they require slow and gradual drying before using,
otherwise they will crack when subjected to heat. Cupels made by Braun machines do not require as much moisture as hand-made cupels and consequently dry faster. Machine-made cupels are also one solid mass, being pressed with one movement, and are not in layers as arc hand-made cupels, the result of several blows of a mallet.
Cupellation is the next step; have the muffle at a bright red heat and put in it enough cupels with the cupel tongs (Fig. 18) to hold the lead buttons. Allow the cupels ample time to heat to the temperature of the muffle before using. It is a good plan to place the cupels in the muffle at the time of first heating the furnace, thus heating the muffle and cupel together. If the cupel is not at a proper heat, as soon as the button becomes molten it will sputter and spurt out of the cupel and all previous labor is wasted.  Examine the cupels after they are hot to see if they are cracked anywhere; discard the cracked ones and replace with new cupels. After the cupels are sufficiently heated, put in the buttons by means of the cupel tongs (Fig. 19); place the plug in the muffle and leave it in until the buttons are brightly molten. Then remove the plug to admit fresh air for oxidizing purposes.
The Cary Furnace is so constructed that the lead fumes and vitiated air pass out of the back end of the muffle and up the main flue of the furnace. The cupellation is finished when the resulting gold and silver bead sets or solidifies and oxidation ceases. The gold bead sets in nearly a perfect sphere, and the silver bead sets in a hemispherical form.
 |
 |
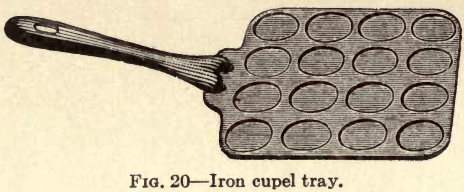
Do not remove the cupel as soon as the play of color ceases, but allow it to remain in the muffle from forty to sixty seconds to expel thoroughly any remaining lead. 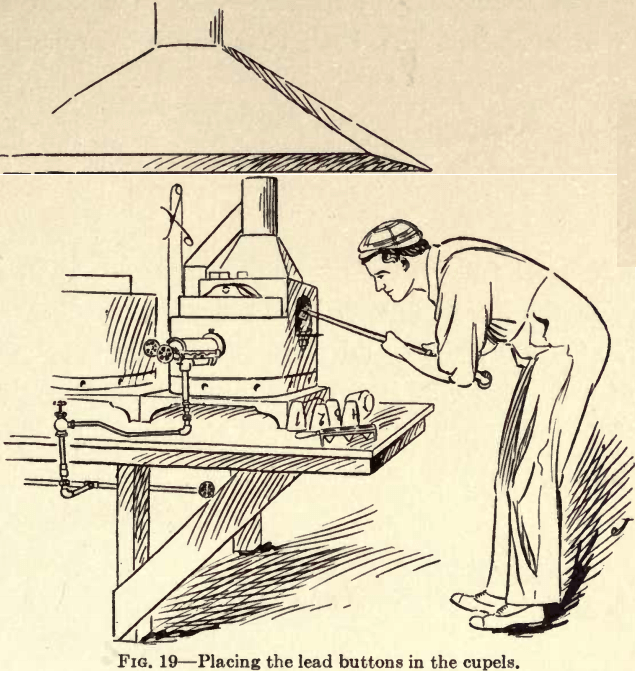 Cover the cupel containing the set button with a hot cupel, and remove from the furnace, placing it on a tray (Fig. 20). This covering of the cupel with another one that has been heated prevents the button from cooling too suddenly and sprouting and spitting. The button is said to have “frozen” when by reason of insufficient heat or the presence of some base metal such as copper, it solidifies. The frozen button is easily distinguished from the set button by its lustreless appearance and uneven surface. The bead that has set properly is
symmetrical and presents a bright surface. The remedy for the frozen button is to roll up a piece of lead foil, about 5 grams, and drop it into the cupel with the frozen button. Insert the muffle plug and allow it to become molten again, when the plug may be removed.
Weighing and Quartation
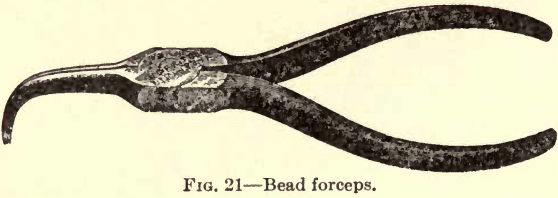
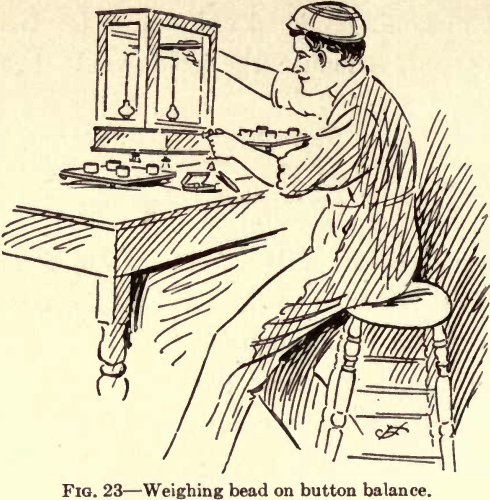
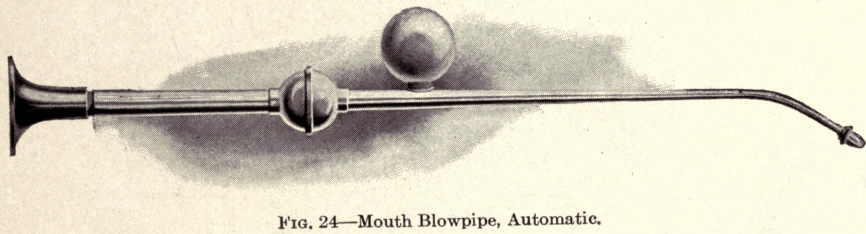
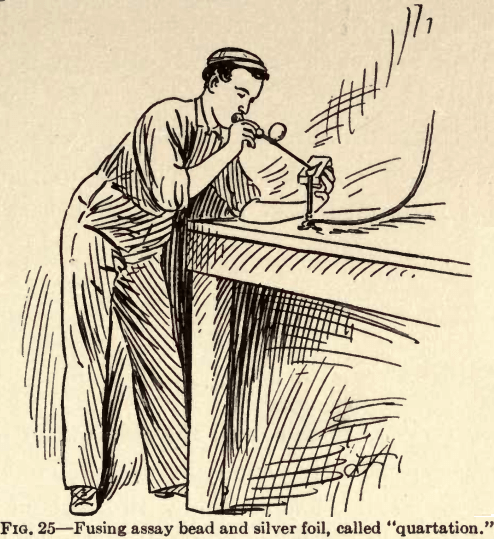
After cupellation remove the bead from the cupel with a pair of forceps (Fig. 21) and clean it of adhering bone ash by brushing with a stiff button brush (Fig. 22) while it is held in the forceps. Weigh the bead carefully in the button balance (Fig. 23) and enter the weight on a card which is placed with the cupel. Judgment is now required to determine whether or not the button will part, that is, whether there is enough silver present in the bead to allow the nitric acid to act upon it. For the bead to part properly there should be 3 parts of silver to 1 part of gold. A bead containing too little silver would not part because the gold would protect the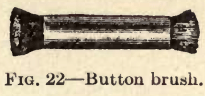 silver from the acids. Silver foil need not be accurately weighed as it is added to the bead that needs alloying. It is immaterial how much silver is used, but enough should be added to allow partition. If the bead is very spherical and rolls readily in the scale pan, it is safe to assume that there is not enough silver present for parting. If the bead is yellow the same condition obviously exists. In this case the bead must be alloyed and enough silver added to make 3 parts or more of silver to 1 of gold. The alloying is best done with the mouth blowpipe (Fig. 24). Make a small excavation in a piece of assayers’ charcoal and place the bead therein. Add as small a piece of silver as will suffice, and fuse the bead and the silver thoroughly together with the blowpipe and Bunsen burner (Fig. 25) or alcohol lamp. This must be done with extreme caution as small beads are easily blown out of the charcoal and lost. Fusion must also be so complete as to make a thorough mixture of the bead and silver or the acid partition will not be perfect.
Another method of alloying is to wrap the bead and a piece of silver in a small piece of chemically pure lead foil and cupel together in the muffle. This is tedious and unnecessary where the first method is carefully followed. When the silver value is to be ignored the best way to alloy is to throw a piece of chemically pure silver into the crucible with the melt
which is called alloying in the crucible. If the alloying is not done at this stage it may yet be done by placing the silver with the lead button in the cupel, although this is not advised.
Parting
For parting or removing the silver use porcelain capsules or cups 1½ inches deep by the same diameter (Fig. 26). Put the bead to be parted in the capsule, and add three or four times as much diluted chemically pure nitric acid as is needed to cover the bead. Set the capsule on the sand bath (Fig. 27) and apply a gentle heat. Partition is complete when the silver is dissolved and the red nitrous oxide fumes cease. 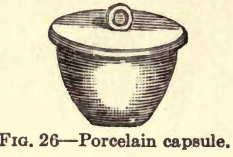 The acid will become very reddish while giving off these fumes, but will finally clear again when partition is finished. Any gold present will appear as a brown powder and the silver will be in solution as silver nitrate. Pour off the acid from the capsule and wash the gold in the capsule several times with warm distilled water. After carefully washing the gold drain the capsule as much as possible and dry in a sand bath. This drying operation must be performed very carefully, as otherwise the vaporizing moisture will spurt the gold out of the cup. When the capsule is thoroughly dry it is well to brighten the gold by holding the capsule with a pair of forceps or small tongs in the flame of an alcohol lamp or Bunsen burner until it is red hot (Fig. 28). Then cool and remove the gold from the capsule to the scale pan to be weighed. The weight of the bead before parting represents the weight of the gold and silver. The weight of the silver is now determined by deducting the weight of the gold from that of the gold and silver.
Coarse Gold in Assay Sample
In case a sample contains coarse gold that cannot be ground so as to pass through the screen, it must be gathered together, wrapped in chemically pure lead foil, and cupelled. After cupellation weigh the bead, and this weight will be the weight of the gold and silver combined. 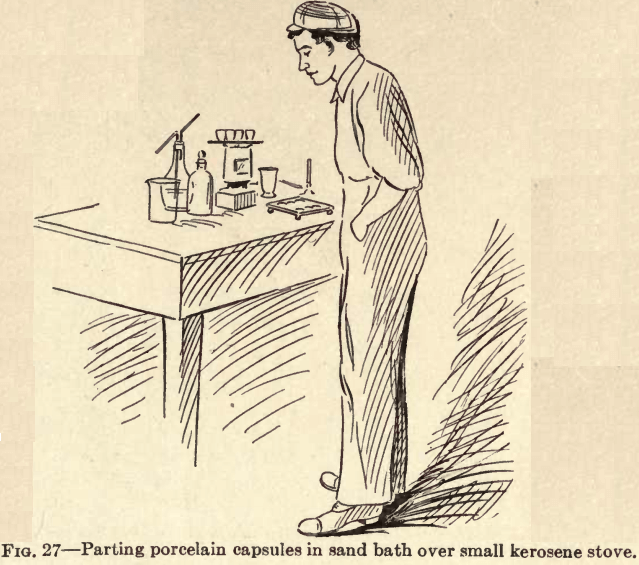 Add sufficient silver to the bead so that when cupelled it will contain at least three times as much silver as gold. Wrap the bead and the requisite amount of silver in chemically pure lead foil and cupel them together. Part the resulting bead as in ordinary partition and weigh the resulting gold.
The amount of gold and silver in the coarse gold is now known, and must be apportioned to the entire amount of pulp from which it was extracted; for example, had the entire amount of pulp been 10 assay tons the amount obtained by assaying an assay ton of the pulp would be entitled to the addition of 1 /10 part of the amount of gold and silver that did pass the screen.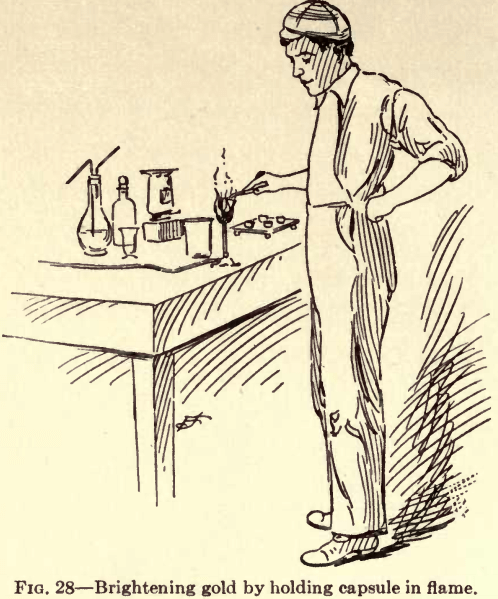
If the original weight of the entire amount of pulp from which the coarse gold was separately assayed was 10 assay tons, having a value of $20.00 per ton gold, and the gold recovered from the coarse metal weighed 10 milligrams, by dividing the 10 milligrams by the total number of assay tons of the pulp, that is 10, this would leave 1 milligram in weight of gold to be added to each assay ton of the original amount of pulp. For example, the assay value of the fine pulp having been found to be $20.00, and the proportion of coarse gold to each assay ton of pulp 1 milligram or $20.67, then the total value per ton of ore in gold would be equal to $20.00 plus $20.67 or $40.67.
Silver values fluctuate and may be figured at the ruling market price per ounce. Silver value is found by subtracting the gold weight from the gold and silver weight, giving the silver weight, and from this weight the silver value is figured.